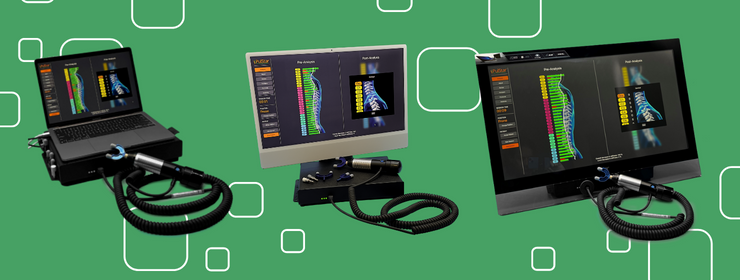
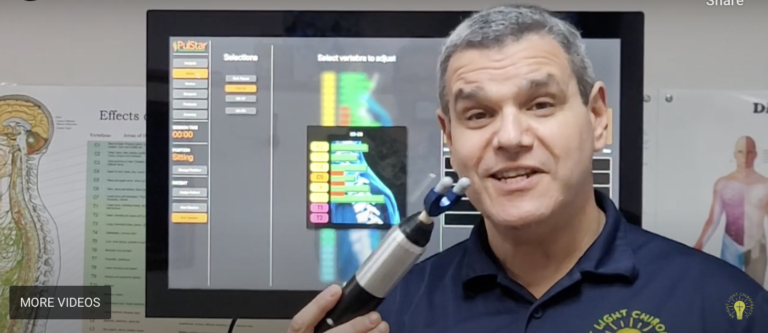
Visualized instrument adjusting and multiple impulse therapy have changed the chiropractic world for the better, benefiting both patients and doctors in profound ways. Leading the charge among these innovative chiropractic technologies is PulStar, which has set itself apart from the competition in a number of meaningful ways. It offers more features, streamlined ease of use, and a comprehensive product suite.
The advantages of PulStar are clear on paper and even more notable in practice. Better still, this revolutionary tool is easy to set up and start using. While there are nuances to the product that elevate its functionality to even greater heights, getting started with PulStar is remarkably simple.
Install the Software
The first step to setting up your PulStar suite is to download the associated software. PulStar has made this easy for you by preloading a direct link on the included flash drive. You can also find the software in the Apple App Store. Once you have located the program, you can install it by clicking “GET” in the app store and entering your Apple ID credentials. If you don’t have an Apple ID, you’ll want to check out the brief guide below.
Once you’ve hit “GET,” the PulStar application will be installed automatically on the computer’s hard drive. You can create shortcuts on either the desktop, the Dock, or both for quick, convenient access. When you open the app, you will be asked for your subscription information. Simply enter your credentials to begin using PulStar.

Getting an Apple ID
An Apple ID is required to download the PulStar software and begin using the suite of adjustment tools. If you don’t have an Apple ID, don’t worry; setting up your account is exceptionally easy.
All you have to do is create an Apple ID by following the link that best works for you and following the related guide. Apple makes it simple to get set up quickly. You will also need to tether a credit card to the account for the PulStar software subscription. Once you have done these two things, you should be ready to download the software and begin using PulStar.
Ready the Hardware
Before firing up your PulStar hardware, it is vital to ensure your wall outlet is properly grounded. Without proper grounding, the risk of danger to you or your patient is much greater. Thankfully, you can easily check your outlet by using an AC Line Analyzer. Once you have confirmed that your outlets are properly grounded, choose one that stands no chance of accidentally coming unplugged. You’ll also want to avoid using extension cords.
Once you are satisfied with the positioning of your monitor and PulStar equipment, you can attach the proper cords to the control unit and computer. Then, plug the three-prong power cord into your chosen outlet. Once the three green power indicators light, turn on the computer, launch the program, and ensure that no error messages occur. If no message appears, you are ready to use your PulStar.
PulStar – Quick, Easy, and Revolutionary
The PulStar sets the standard for chiropractic tools. It is comprehensive, ergonomic, and always on the leading edge of innovation. It also happens to be incredibly simple to set up and start using, giving you the equivalent of plug-and-play for your chiropractic practice.
We hope this quick guide helps you get up and running with PulStar with ease. If you have further questions, please reach out to us. Our team of experts will happily answer your questions, help you troubleshoot any issues, and otherwise guide you to the streamlined integration of PulStar into your daily workflow.


